How to Convert a Minecraft Schematic to Hytale Using the Hytale Converter?
Published on January 13, 2026
Welcome to this tutorial on how to convert a Minecraft schematic to Hytale. If you want to bring your favorite Minecraft builds into Hytale, the easiest way is to use the free Hytale Converter. In this step-by-step guide, you’ll learn how to convert any Minecraft schematic or map to Hytale quickly and easily, without requiring any technical skills. By the end, your Minecraft creations will be ready to use as Hytale prefabs in your own worlds.
Step 1: Create and retrieve your schematic
To convert your build, you must first save it in .schematic or .litematic format. These formats are the most commonly used for exporting Minecraft builds.
If you haven’t already done so, you can refer to one of these two articles to proceed correctly:
How to create a schematic to import into Hytale ?
Step 2: Submit your schematic
If you followed the tutorials in step 1 correctly, you should now have a .schematic or .litematic file. As a reminder, schematic files are located in the “schematics” folder of your Minecraft profile, accessible via: Windows + R → %appdata% → .minecraft (or ModrinthApp → profiles, if you use Modrinth).
Then simply drag your .schematic file onto the Hytale Converter home page and wait for the conversion to complete automatically.
When creating the schematic, it is recommended that you select the smallest area possible. This will prevent the file from becoming too large and speed up the conversion time.
Step 3: Retrieve your Hytale prefab
Once the conversion is complete, your Hytale prefab will be available. A “Download” button will appear directly on the file storage space. All you have to do is click on it to retrieve your Hytale-compatible build.
Step 4: Add the prefab to Hytale
Adding a prefab in Hytale is very simple. Just go to the Prefabs folder in your Hytale installation and drop the converted file there.
The folder can be accessed via the following path: G:\Users\name\AppData\Roaming\Hytale\UserData\Saves\MyWorld\prefabs
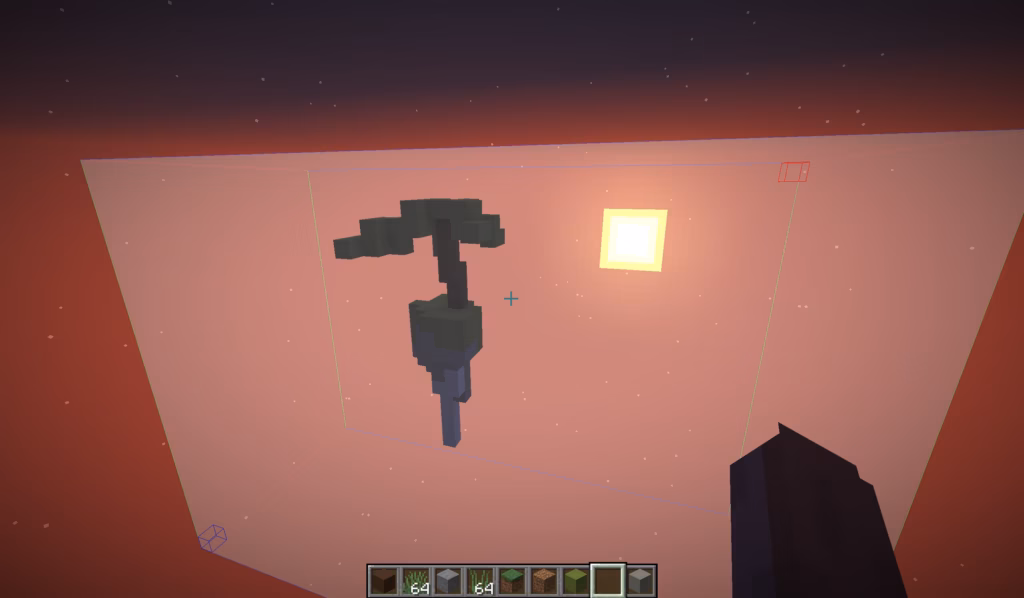
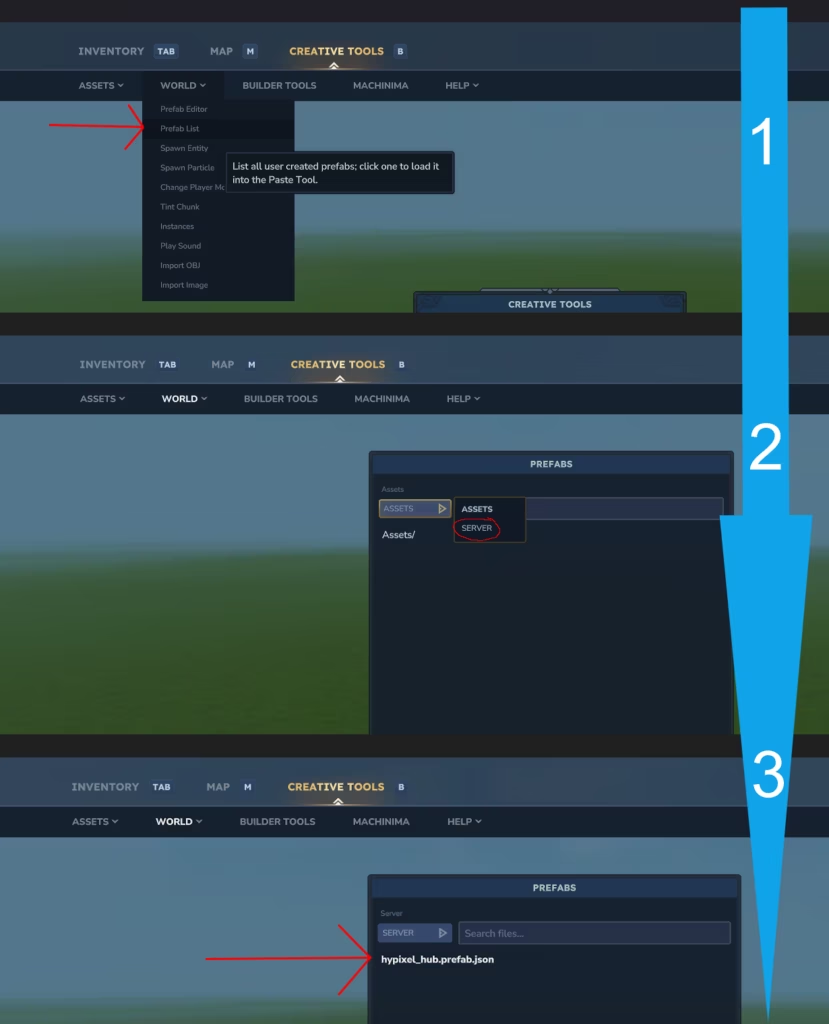
Once the prefab has been placed in this folder, you can use it directly in the Hytale in-game editor and integrate it into your worlds or projects. If you need help to paste the prefab, check the detailed process on the left image. Good luck for your projects !